DanceForms Exercises are From: The Practical Guide (see the PDF)
Handout #04
Moving into Part B of the Practical Guide
Exercise 7 - Basic TermsLearn to:
1 start a new figure
2 name the basic plans of motion and the basic movement directionsTo add a dancer
- From the Figure menu
- choose "New Figure"
- choose any figure (in the examples they use Female Modern)
Each dance figure has 54 moveable parts. You, of course, have more but you don't have to think about them.
Anatomical Position
Anatomical: This is normally the body face forward to you, feet slightly apart, palms of hands to open the front
DanceForms version: all the same except that the palms of the hands are facing the thighs (toward body)Anatomical Planes of Motion
Sagittal (forward and backward) - flat from the side
Horizontal - flat from the top
Lateral - flat from the frontTerms:
- Flexion (or forward flexion) - movement of whole arm or leg forward
- Hyperextension (or backward flexion) - movement of whole arm or leg to the back
- Extension - movement back to "neutral" (from forward or backward)
- Rotation - movement around the long axis of and arm or leg
- Lateral Rotation - rotating arm or leg outward
- Medial Rotation - rotating arm or leg inward (to the body centerline)
- Abduction - moving arm or leg outward (straight out, side move)
- Adduction - moving arm or leg inward (straight) toward center of body
- Circumduction - composite action (all of the above)
To view what each joint can do in terms of movement see Apendix A.
To view the range of motion load RangeOfMotions.lfa and click the play button.From a Blank Slate
Start from Scratch:
File Menu ->> New Animation
Get a new figure:
Figure menu ->> New Human ->> Female Modern
Make sure the Studio window is also open (Windows ->> Studio, if not)
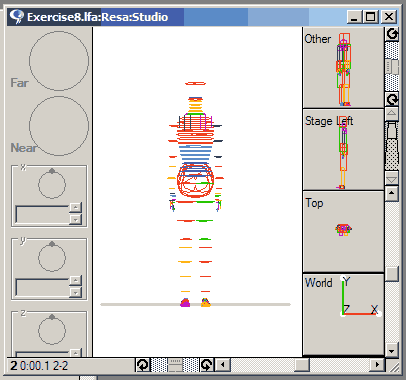
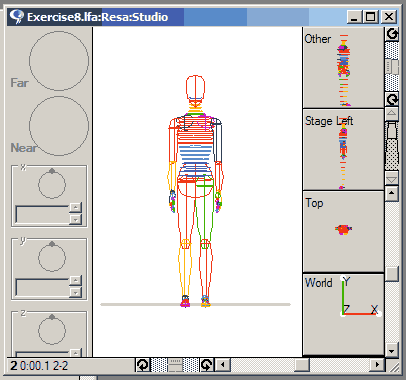
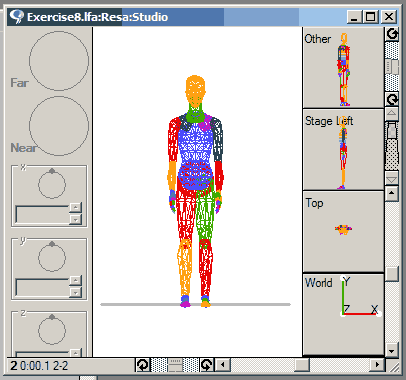
Exercise 8 - Moving a Body Part
Learn to:
Move specific body parts
Bring up the body parts menu to select specific part
Which parts move other parts down the lineOpen One File:
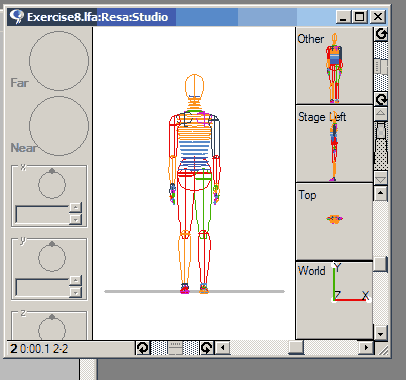
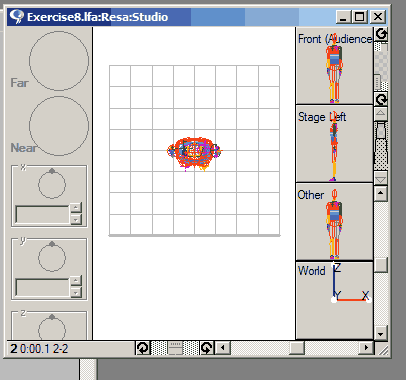
Exercise8.lfaBody Parts Menu
To select a specific part it is sometimes easier to use the body parts menu than it is to click on the correct body part
- In the Studio window
- Position the cursor somewhere near the body
- Click and hold the mouse
- (make sure to hold [wait]) for a second or so
- The body parts menu will now pop up
- You can make a selection from here
Computer Trivia Note: the popup menu and all overlapping windows were made possible by Diana Merry in 1972/73 working for the famous Xerox PARC (Palo Alto Research Center) which is properly credited with inventing the entire windowing and electronic office environment. The particular piece of machine-language code which Merry invented is called BitBLT for the Xerox Alto computer and stands for "Bit Block Transfer". Diana Merry invented this for the Smalltalk-72 language. Until Merry's solution for transfering memory to display memory the electronic office was being bogged down with laborious memory copying operations.
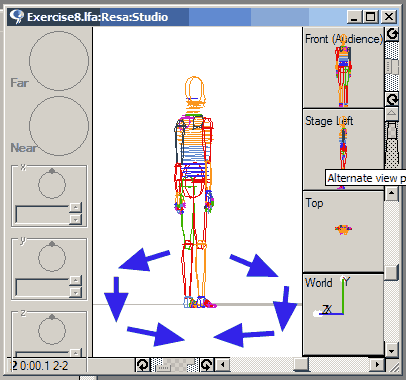
Pelvis
- Click on the title bar of the Studio window to activate it
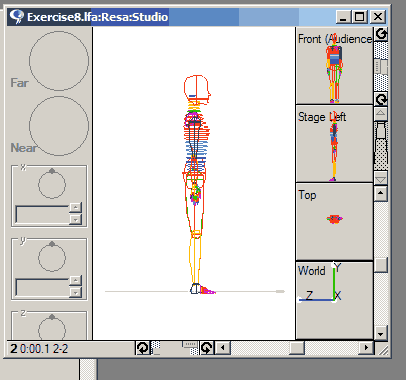
- To view from the front - press the "F" key on the keyboard.
- Click on the Pelvis
- Put the cursor near the top of the pelvis, hold down the mouse button, move the mouse to the left
- To position the figure horizontally type "90" in the "Z" box on the lower left of the Studio window
- To return to the start: pull down the Edit window and click on "Reset to Default Shape"
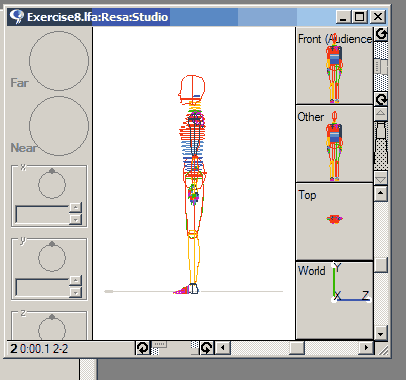
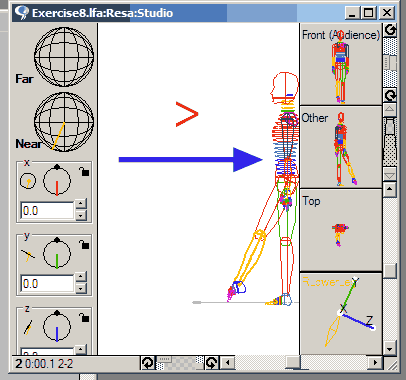
Arms and Legs
- Arms move from the shoulders.
- To move the whole arm click on the Upper Arm. The rest of the arm is carried along.
- To move the whole lege click on the Upper Leg. The rest of the leg is carried along.
- Notice all the other items in the Studio window which change (X, Y and Z boxes)
- You can also move the arm by typing and angle into the X, Y or Z boxes
- Return to the start: pull down the Edit window and click on "Reset to Default Shape"
- Legs move from the hips
- Forward and Backward
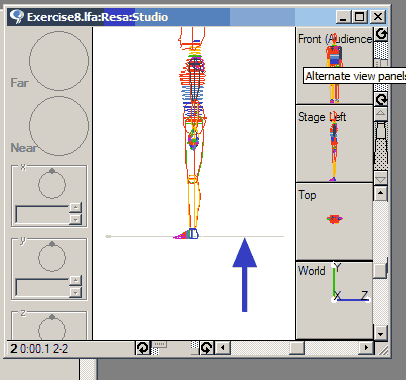
- To view from the side - press the "R" key on the keyboard
- Click on a thigh
- Drag the limb forward
- Note the other controls (X, Y, Z boxes and graphic controls.
- Leg Rotation
- Change the view to the front - press the "F" key on the keyboard
- Click on a thigh (RUpperLeg)
- Move it outward about 45 degrees
- Get the same turnout on the other leg using the Mirror command
- Click on the other thigh (LUpperLeg)
- Press the Control-M key
- Return to the start: pull down the Edit window and click on "Reset to Default Shape"
To Bend at the Knees click on the calf (LLowerLeg or RLowerLeg)
To Bend at the Elbows click on the forearm (LLowerArm or RLowerArm)
Foot
Flex the Foot
- Get a side view (press the "R" key)
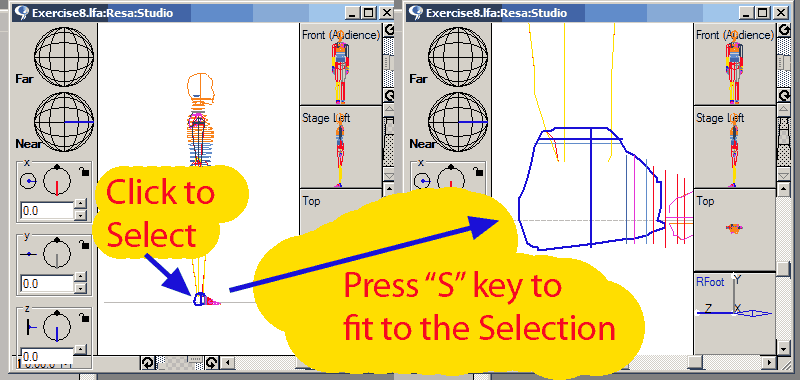
- Select the left foot directly (click on it, or use the body parts menu)
- Now click the "S" key to zoom in on the selected body part
- Move the round slider in the "X" box window to flex the foot
- To return the part to Neutral Hold the Alt key and press the "/" (forward slash) key Alt+/
Point the Foot
- This is progressive and moves a set of parts, one after the other
- Start with the foot (above) and decrease the "X" box value
- Do the same with the arch
- Then the toes
- -
- To make the other foot the same (the mirror command again)
- Select the other foot from the body parts menu and...
- Again get the body parts menu. Now select All Descendents command (near the top of the body parts menu)
- As before, Hold Control and hit the "M" key. Control-M to give the opposite foot the same settings
Studio "Cheat Sheet" keyboard shortcuts
A key
All of the model is scaled for size and moved to the center of the window
F key
Front view
L key
Left view - because this is from the right side I have to assume they mean audience left (??)
R key
Right view - always shows left side so I assume (as above) they mean audience right (??)
T key
Top View
M key
Each hit on the "M" key moves the model upward in the window
Z key
Scales the image up, leaving the floor line where it is in the frame.
X key
Scales the image down, leaving the floor line where is is
S key with a selection
1 - Select a body part then ...
2 - Click the "S" key to zoom in to a particular part.
C or V key
Tilts floor up or down
C = up
V = down
B or N key
Rotates floor right or left, depending on key
> key
Move image to right
< key
Move image to left
View Image as: Y key
or
Control-5View image as stick figure
U key
or
Control-6View as bounding boxes
I key
or
Control-7View as countours
O key
or
Control-8View as outlines
P key
or
Control-9View as surfaces
Key Shortcuts
Please note:
On Two-Button Mice,
Shift Right Click = Middle Mouse ButtonMB=Mouse Button
LMB=Left Mouse Button
MMB=Middle Mouse Button
RMB=Right Mouse ButtonMac
Win
Selections
Select All figures in Stage, All joints in Fig. Ed
Cmnd A
Ctrl A
Select All Frames in Timeline
Cmnd [
Alt [
Fit selected joint to view (Figure Editor Only)
S
S
Fit entire stage to view (Stage Only)
D
D
Fit Figure to view
A
A
Navigation
Frames
Back Step
Left arrow
(Also Cmnd-B)
Left arrow
Forward Step
Right arrow
(Also Cmnd-F)
Right arrow
Return to first frame
Home
Home
Go to last frame
End
End
Open the Goto dialog box
Cmnd G
Ctrl G
Select Pasted Frames
Cmnd J
Ctrl J
Views
Display Front view
F
(also Cmnd-1)
F
(Also Ctrl-1)
Display Top view
T
T
Display Right view
R
R
Display Left view
L
L
Zoom in (fine-tuning)
Z
Z
Zoom out (fine-tuning)
X
X
Mouse Controls for View
Pan view
MB
LMB
Zoom view
Cmnd + MB
RMB
Rotate view
Option MB
MMB
Other View Nav keys
Tilt the foreground of the Stage down
V
V
Tilt the foreground of the Stage up
C
C
Rotate the stage to your right
B
B
Rotate the stage to your left
N
N
Pan up
M
M
Pan down
?
?
Pan to the Right
>
>
Pan to the Left
<
<
Windows
Open or make Figure Editor active
Cmnd E
Ctrl E
Open or make Stage window active
Cmnd L
Ctrl L
Open or make Timeline window active
Cmnd T
Ctrl T
Open or make Rendered window active
Cmnd R
Ctrl R
Open File Browser
Ctrl O
Ctrl F
Open or make Joint Material window active for Selected Joint
Option + Cmnd J
Open or make Panel window active
Option + Cmnd P
Display
Display or hide paths of Selected Figures
Cmnd K
Cmnd K
Toggle Always Display Path of All Figures
Option + Cmnd K
Display selected figures in Sticks Style
Cmnd 5
Ctrl 5
Display selected figures in Bounding Box S
Cmnd 6
Ctrl 6
Display selected figures in Contours
Cmnd 7
Ctrl 7
Display selected figures in Outline
Cmnd 8
Ctrl 8
Display selected figures in Surfaces
Cmnd 9
Ctrl 9
Operations
Stop Playback
ESC
ESC
Playback
Tilde
tilde
Copy
Cmnd C
Ctrl C
Paste
Cmnd V
Ctrl V
Paste Special
Option + Cmnd V
Insert Blank Frame
Space bar
Space bar
Import Figure
Cmnd I
Remove Selected Figure
Option + Cmnd F
Mirror selected joints
Cmnd M
Ctrl M
Undo
Cmnd Z
Ctrl Z
Playback selected figures
Cmnd Y
Ctrl Y
Playback in whole screen (toggle)
Cmnd U
Ctrl U
Ctrl P
Open Walk Generator
Cmnd ]
Alt]
Keyframe all attributes in current keyframe
Cmnd ' (tilde key)
Alt ' (tilde key)
Reset to default shape
Cmnd /
Alt /
Revert
Cmnd -
Alt - (keypad)
Add to Palette
Cmnd =
Alt =
Mouse Controls for Rotating Joints
Rotate around X axis
Ctrl + MB
Ctrl + LMB
Rotate around Z axis
Ctrl + Option + MB
Ctrl + RMB
Rotate around Y axis
Ctrl + Cmnd + MB
Ctrl + MMB
Workspace management
Arrange windows
Cmnd D
Ctrl D
Hide All but Top window
Cmnd ;
Alt ;
Bring next animation's windows to front
Option + Tab
Ctrl + Q
Make next window active
Ctrl + Tab
Ctrl + Tab
Snap
Resnap
Shift + Cmnd + R
Alt + Shift + R
Snap Same as Previous
Shift + Cmnd + P
Alt + Shift + P
Position Same as Next
Shift + Cmnd + N
Alt + Shift + N
Snap
Shift + Cmnd + S
Alt + Shift + S
Auto Snap
Shift + Cmnd + A
Alt + Shift + A
Clear Snap
Shift + Cmnd + C
Alt + Shift + C
Snap Altitude
Shift + Cmnd + T
Alt + Shift + T
Snap Location
Shift + Cmnd + L
Alt + Shift + L
Keyframes Only
Shift + Cmnd + K
Alt + Shift + K
Adjust Following frames
Shift + Cmnd + F
Alt + Shift + F
Left Toe Tip
Ctrl + Cmnd + T
Ctrl + Shift + T
Right Toe Tip
Option + Cmnd + T
Ctrl + Alt + T
Left Toe
Ctrl + Cmnd + B
Ctrl + Shift + B
Right Toe
Option + Cmnd +B
Ctrl + Alt + B
Left Heel
Right Heel
Left Fingers
Ctrl + Cmnd +H
Ctrl + Shift + H
Right Fingers
Option + Cmnd + H
Ctrl + Alt + H
File
Open
Cmnd O
Ctrl O
Save
Cmnd S
Ctrl S
Save All
Option + Cmnd S
Close
Cmnd W
Ctrl W
Close All
Option + Cmnd W
New file
Cmnd N
Ctrl N
Export
Option + Cmnd E
Application
Exit
Cmnd Q
Alt F4